Creating an Issuing CA Signed by a Root on Same Node
This page describes the workflow for creating an X509 Issuing CA, signed by a Root on the same node.
For more general information on managing CAs, see Managing CAs and for conceptional information, see Certificate Authority Overview.
Create Issuing CA
To create the CA in the EJBCA CA UI, do the following:
Click Certification Authorities under CA Functions to open the Manage Certificate Authorities page.
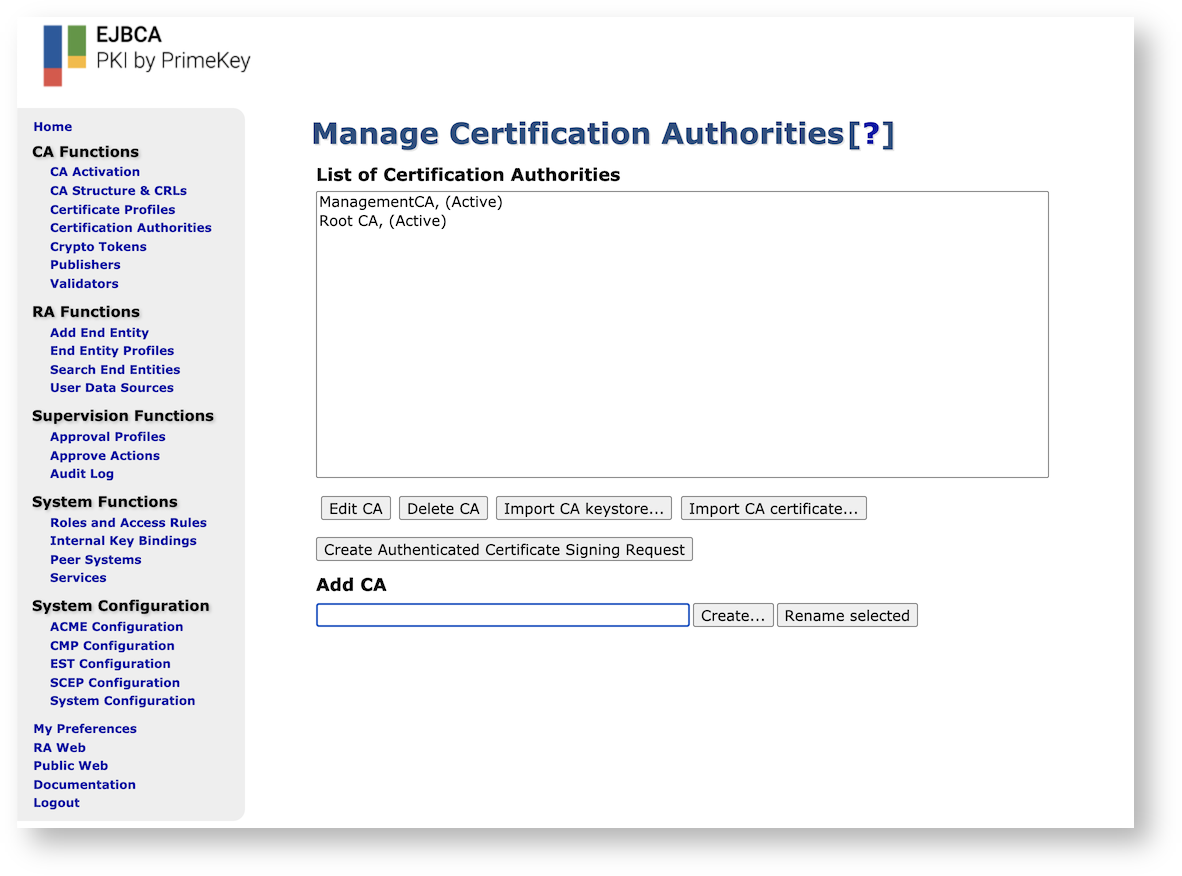
In the Add CA field, specify a name for the CA and click Create.

Next, on the Create CA page, set Subject DN, Issuer, and Certificate Profile:
Subject DN: Specify the subject DN for the CA.
Signed by: Select which CA is higher up in the hierarchy.
Certificate Profile: Select the profile for the CA certificate.
Validity: For example, specify 1y for one year.

Optionally configure Approvals/Dual Access Control.
If you want to have several trusted administrators sign off on the issuance of a new CA certificate, configure Approval Profiles in the Approval Settings section.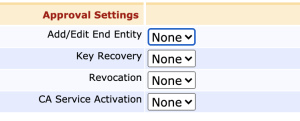
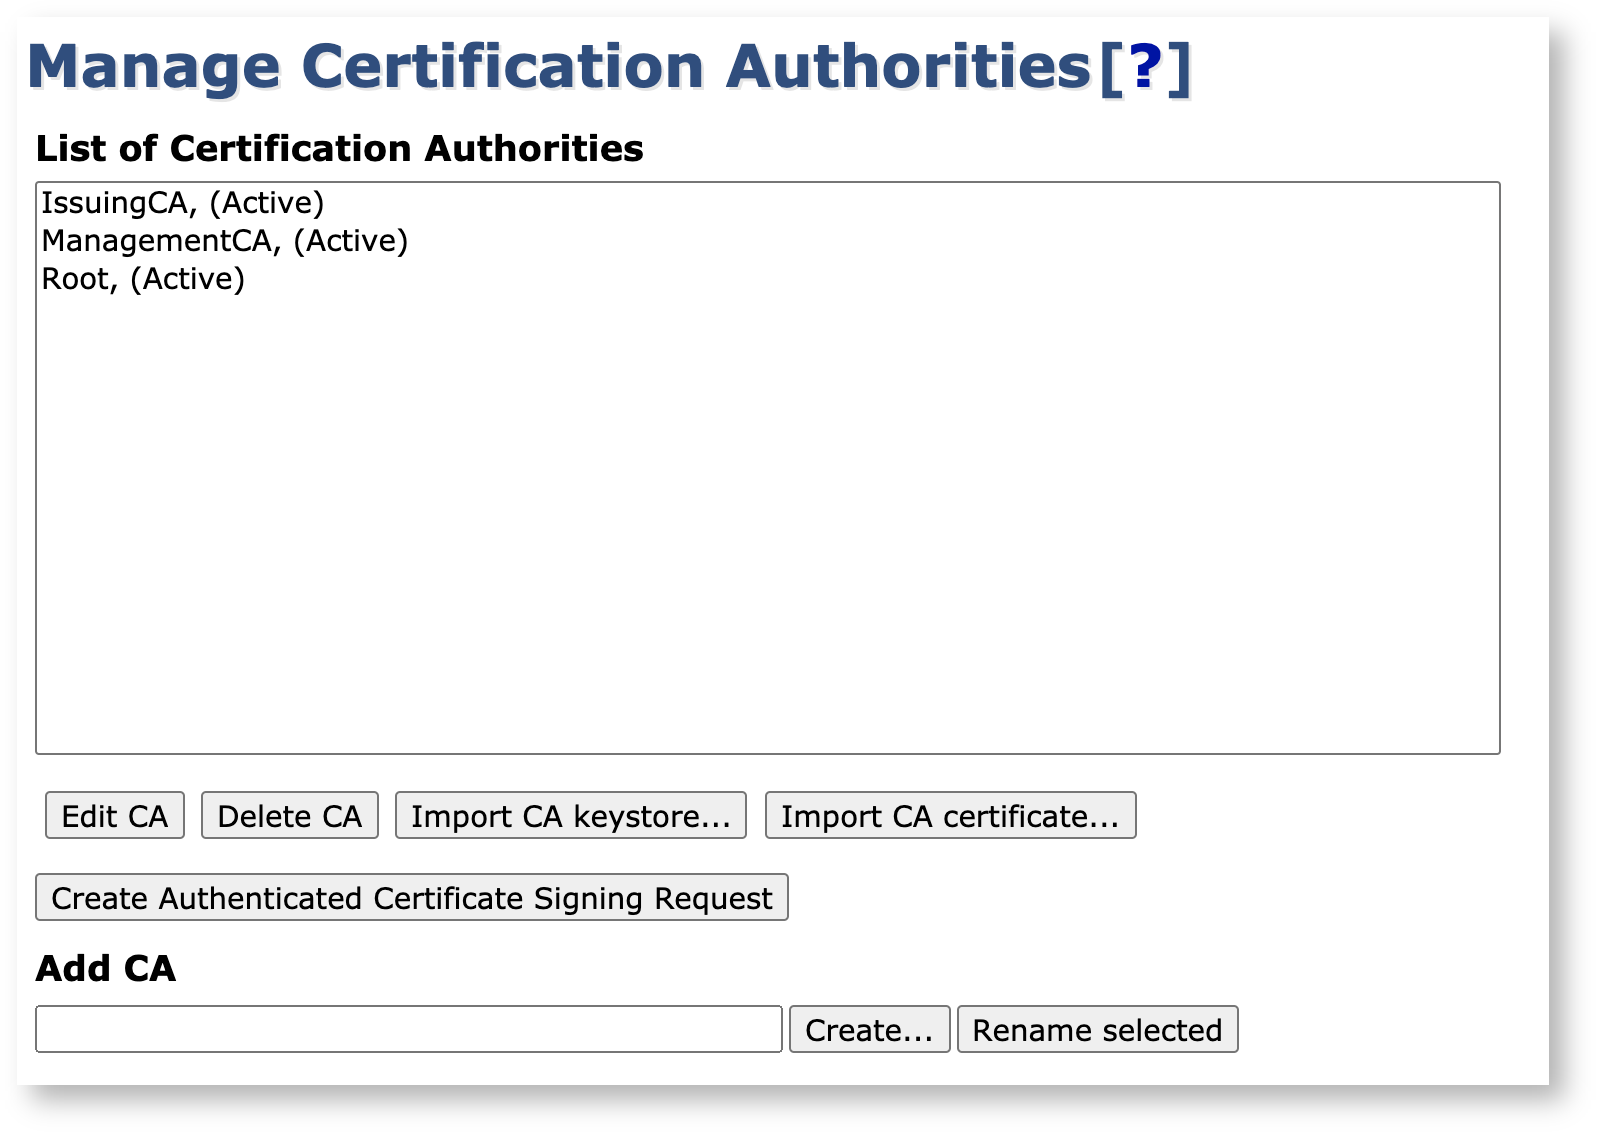
As a last step, click Create at the bottom of the page to finalize the CA.

Your issuing CA is now online and listed on the Manage Certificate Authorities page.