Quick Install Guide
This guide describes how to quickly get an instance of EJBCA up and running using our Docker container containing EJBCA Community Edition.
The Certificate Authority (CA) you are going to set up will be running on the in-memory H2 database in Wildfly and will be ephemeral, thus it will lose all data once Wildfly shuts down. Later guides will demonstrate how to install with a database running in its own Docker container.
This guide covers the quickest way to get an instance of EJBCA up and running, primarily for testing or evaluation purposes. For detailed instructions on how to install a production Certificate Authority (CA), see the EJBCA Installation guide.
Prerequisites
Before you begin, you need Docker running in the background. To download and install, refer to docker.com.
Since this build is based on a self-contained Docker image, build tools such as Apache ANT or an application server such as Wildfly are not needed.
Step 1 - Pull and start the container
The EJBCA Community Docker container is hosted on Docker Hub (trust no imitations!) and can be pulled straight from the command line using the Docker tool.
To pull and start the container:
Start the container using the following command:
$ docker run -it --rm -p80:8080-p443:8443-h localhost keyfactor/ejbca-ceThe command will start the container running with localhost as the hostname, but feel free to use any substitute.
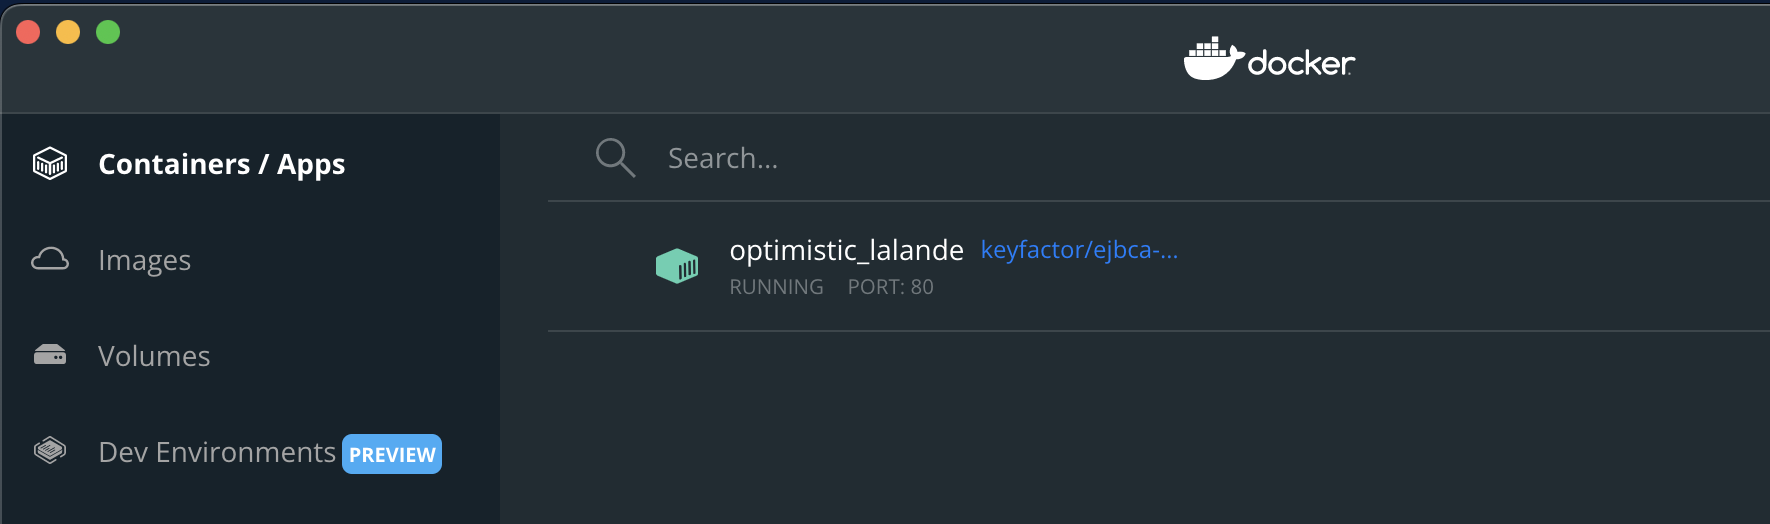
Checking the command line, EJBCA is now up and running, and EJBCA has already generated a Management CA (used to manage internal PKI in EJBCA) as well as an initial super-administrator with full rights. At the end of the log output you should see something like the following:
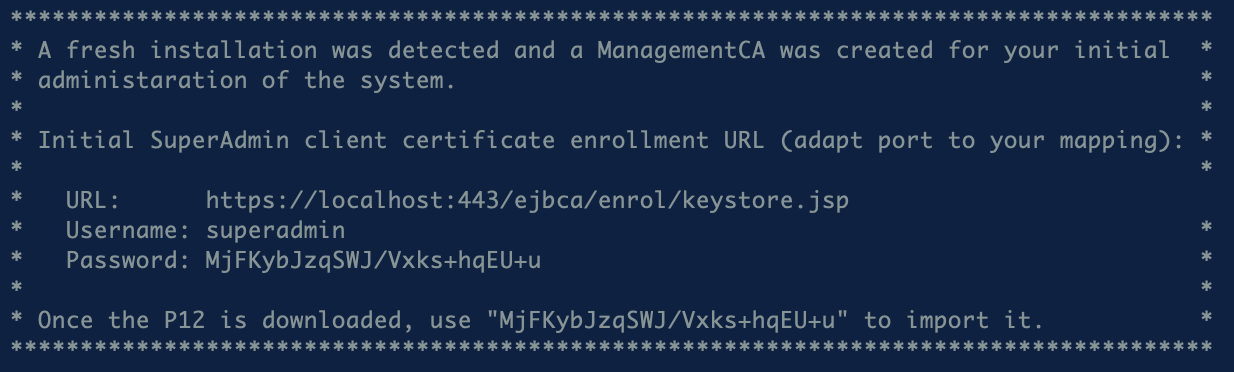
Step 2 - Generate the Super Administrator
The P12 (PKCS#12 file) referred to in the log output above is a key pair that will be generated by the EJBCA server when accessing the URL in the previous image. The P12 format contains the private key, a certificate signed by the Management CA containing the public key, and is encrypted and password protected. It is with these credentials you will be able to generate additional administrators and users, CAs, profiles, etc, so don't lose them!
To generate the super admin credentials:
To generate the P12, go to the above address with your favorite browser. You may first initially see a warning like this:
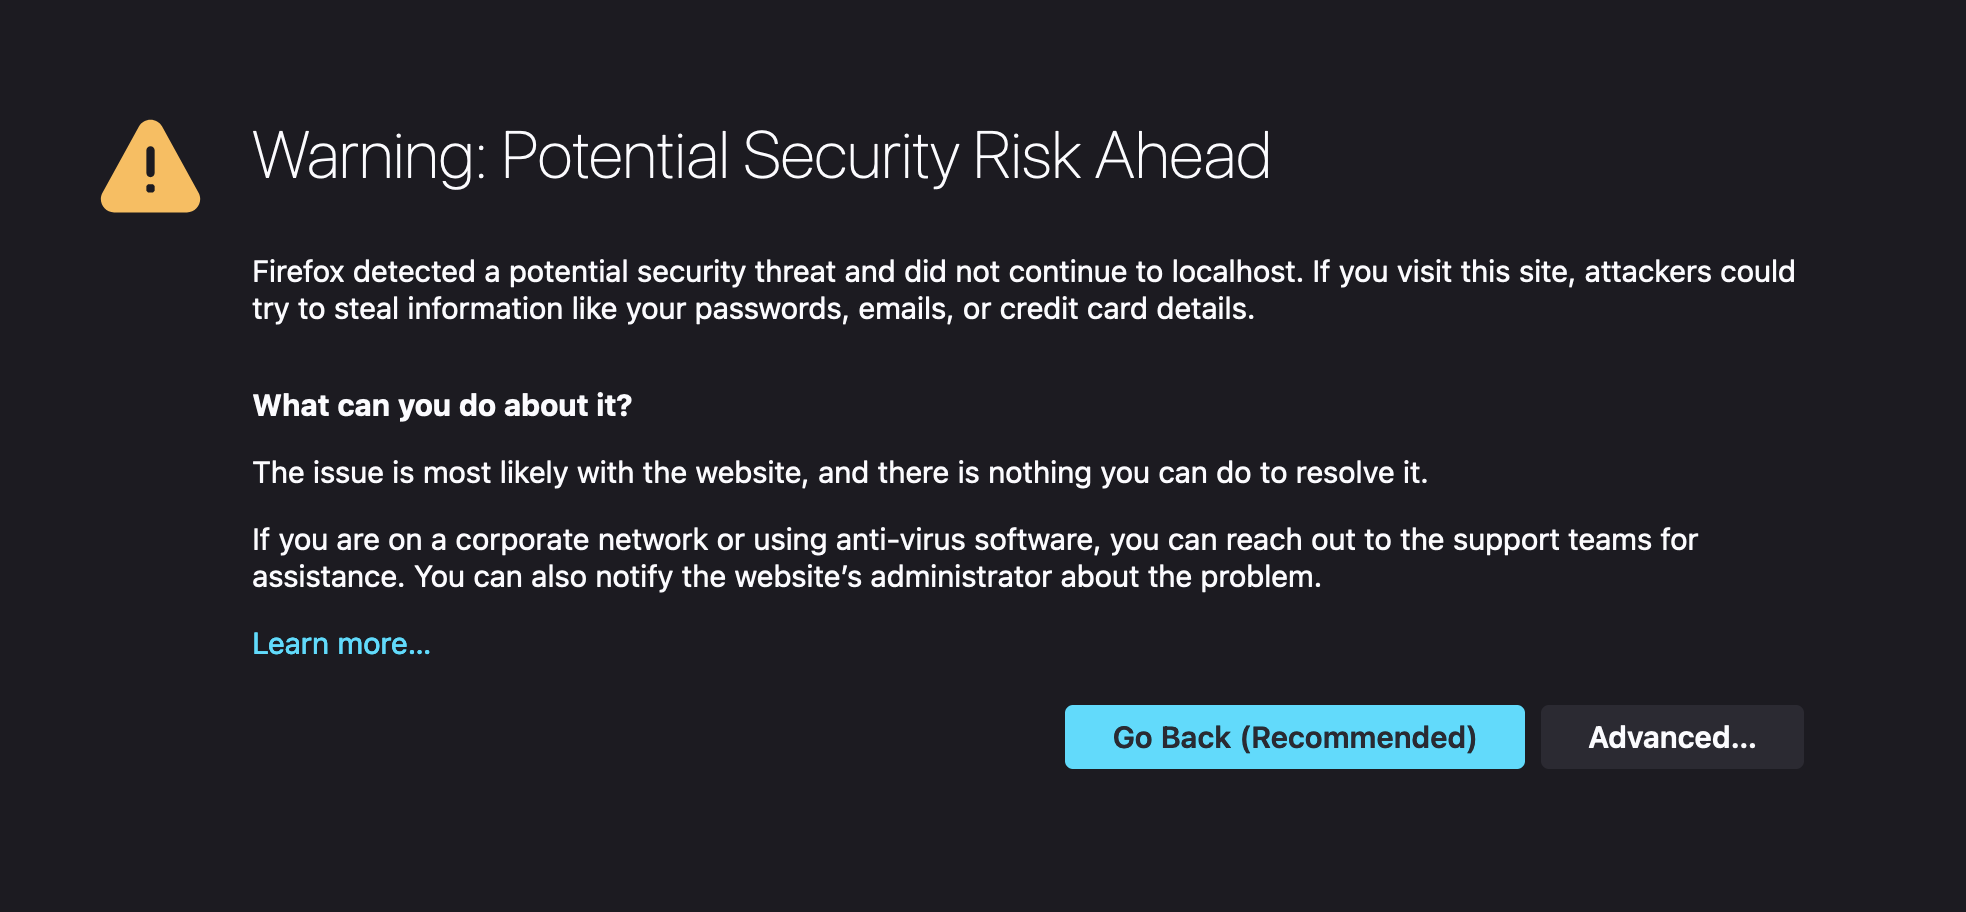
This is expected, as you haven't added the Management CA to the list of trusted roots in your certificate store (nor will you need to for this example). While it is nothing we would normally advise, for the sake of this exercise, click through it.You should now see the following screen:
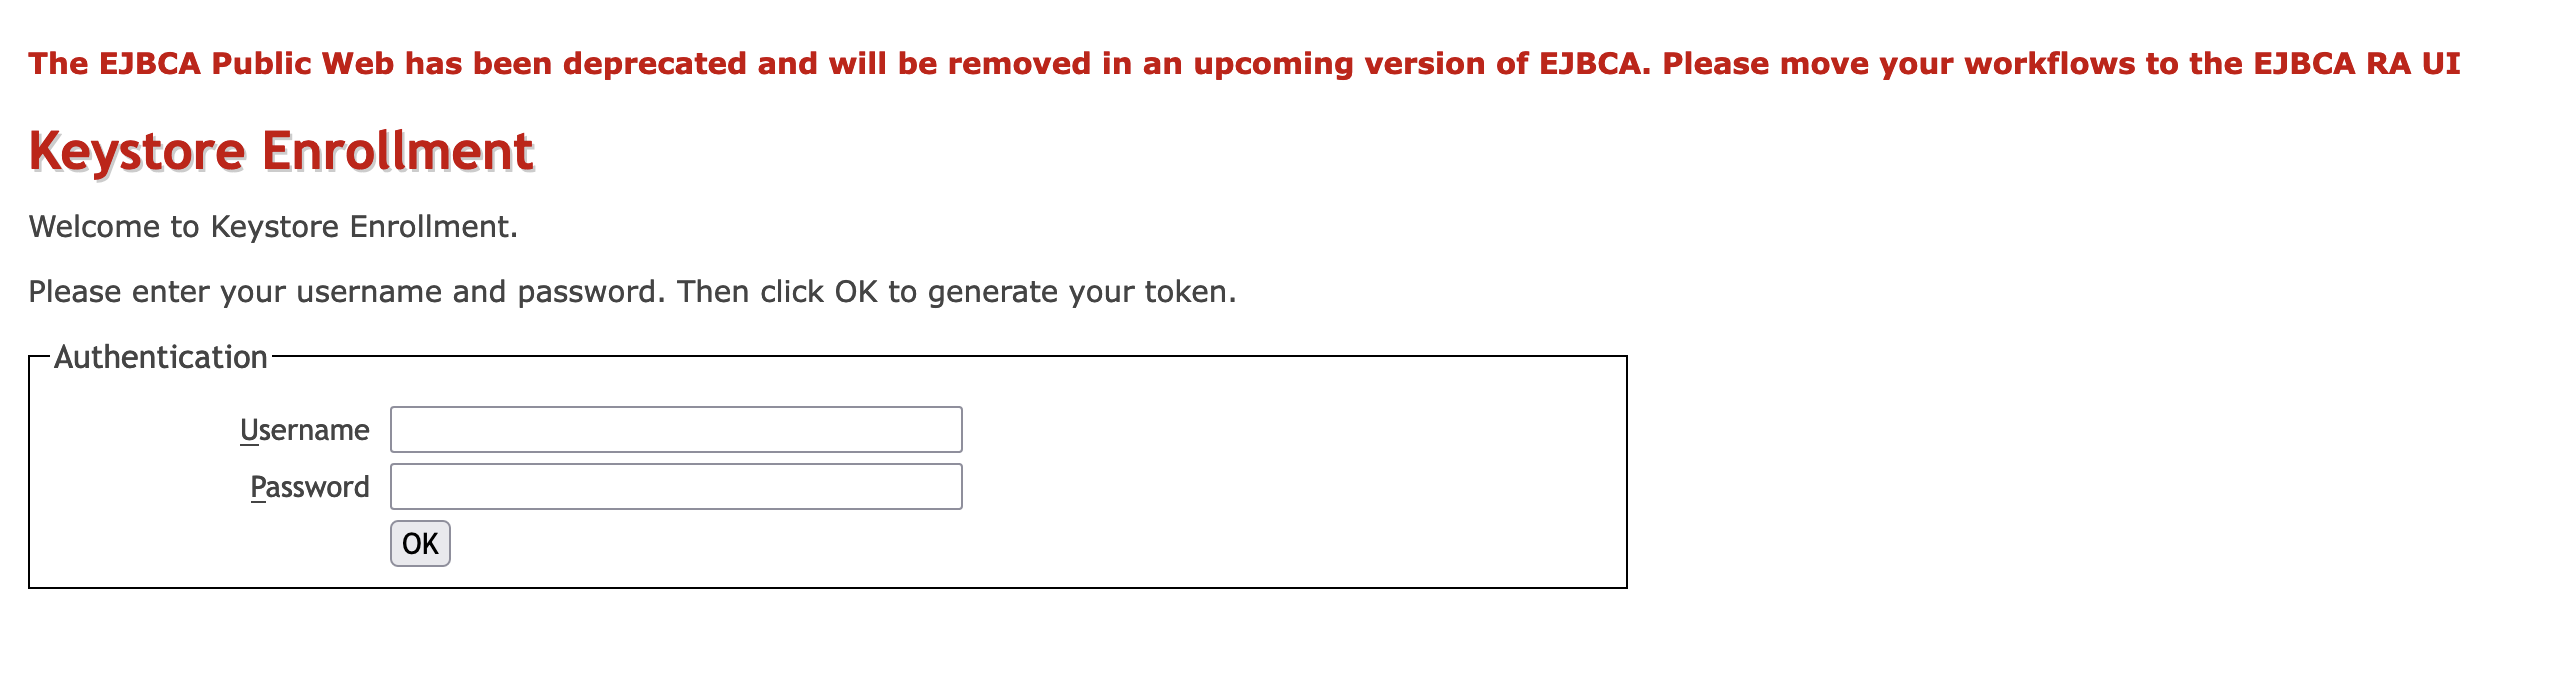
Enter the username and password from the log output and click OK.
Select a key algorithm and length. If unsure of what to pick, RSA 2048 is a fairly safe choice.
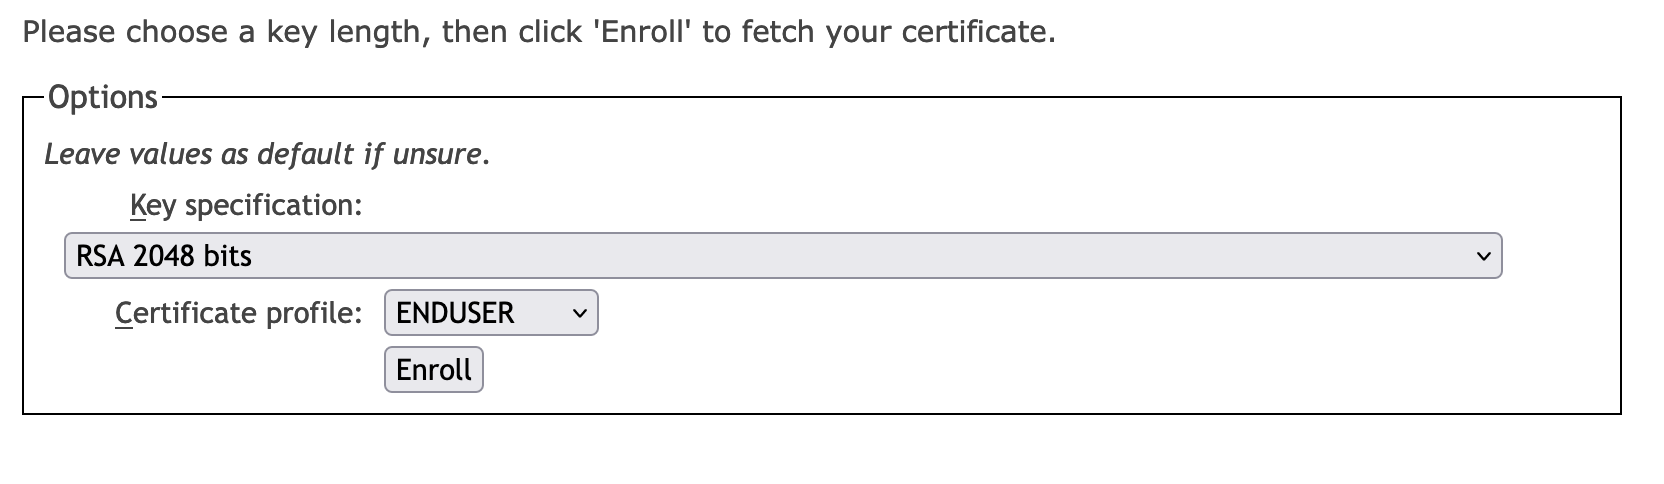
Click Enroll to generate a file named superadmin.p12 and download the file.
Step 3 - Access the EJBCA CA UI
To access the EJBCA CA UI (that allows administration of CAs, profiles, roles, etc), you need to import the superadmin certificate into your browser's or operating system's key store.
The exact procedure for importing a certificate may vary and the following describes how to import a certificate to Mozilla Firefox.
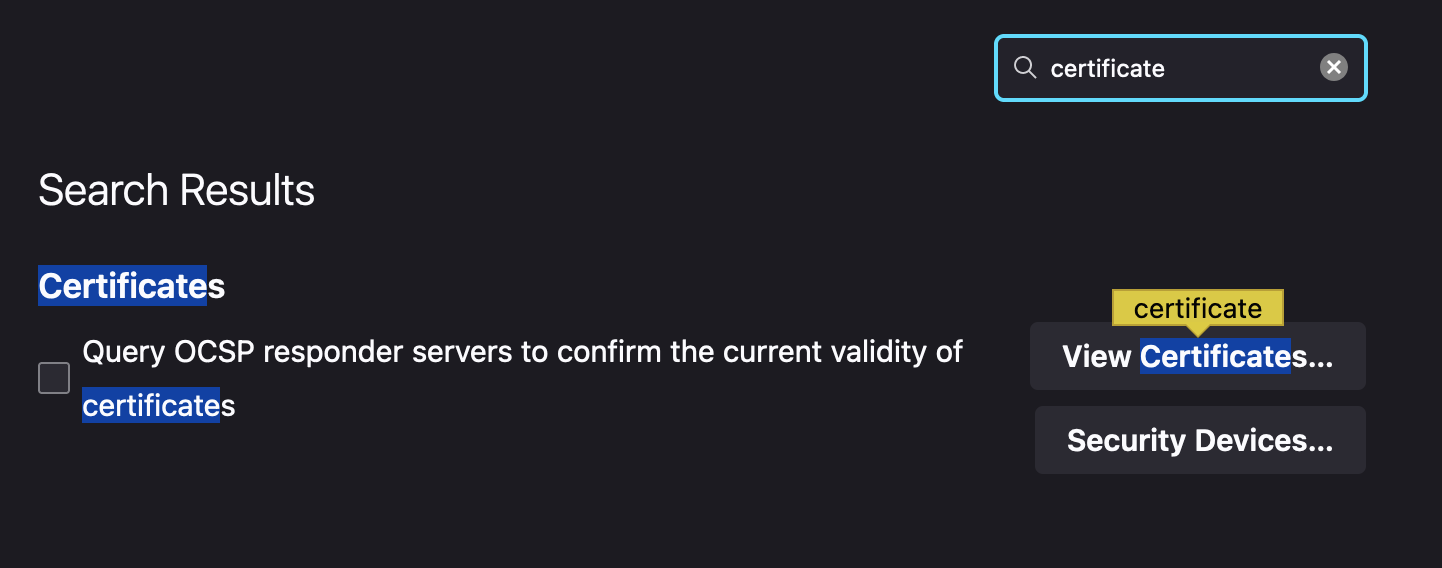
Go to Settings and search for Certificate to filter out the options, and then click View Certificates.
On the tab Your Certificates, click Import.
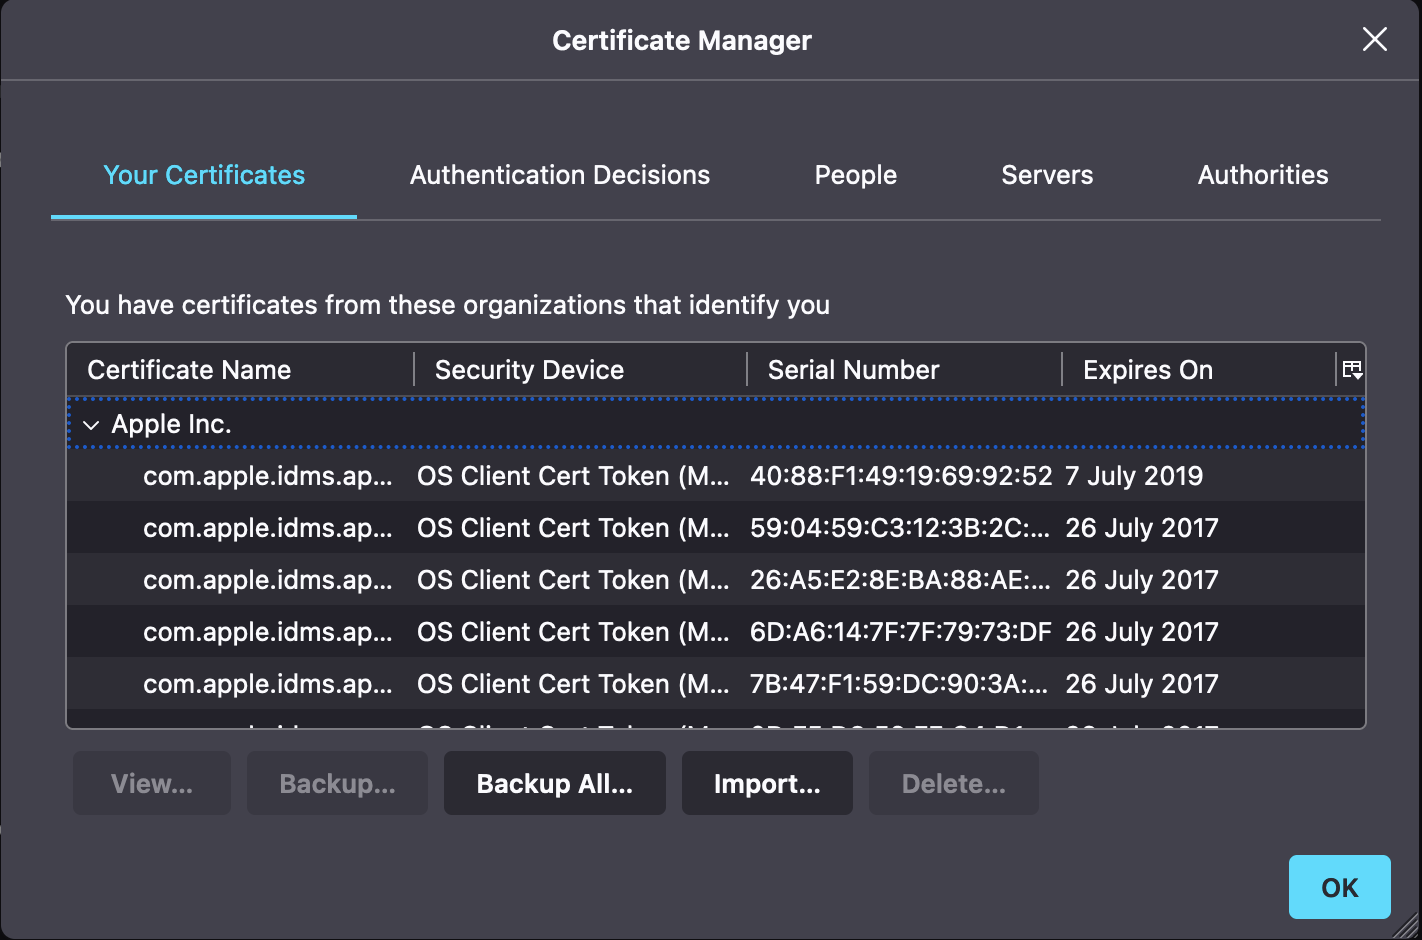
Browse to the superadmin.p12 file to import and enter the password, as the P12 format is password protected.
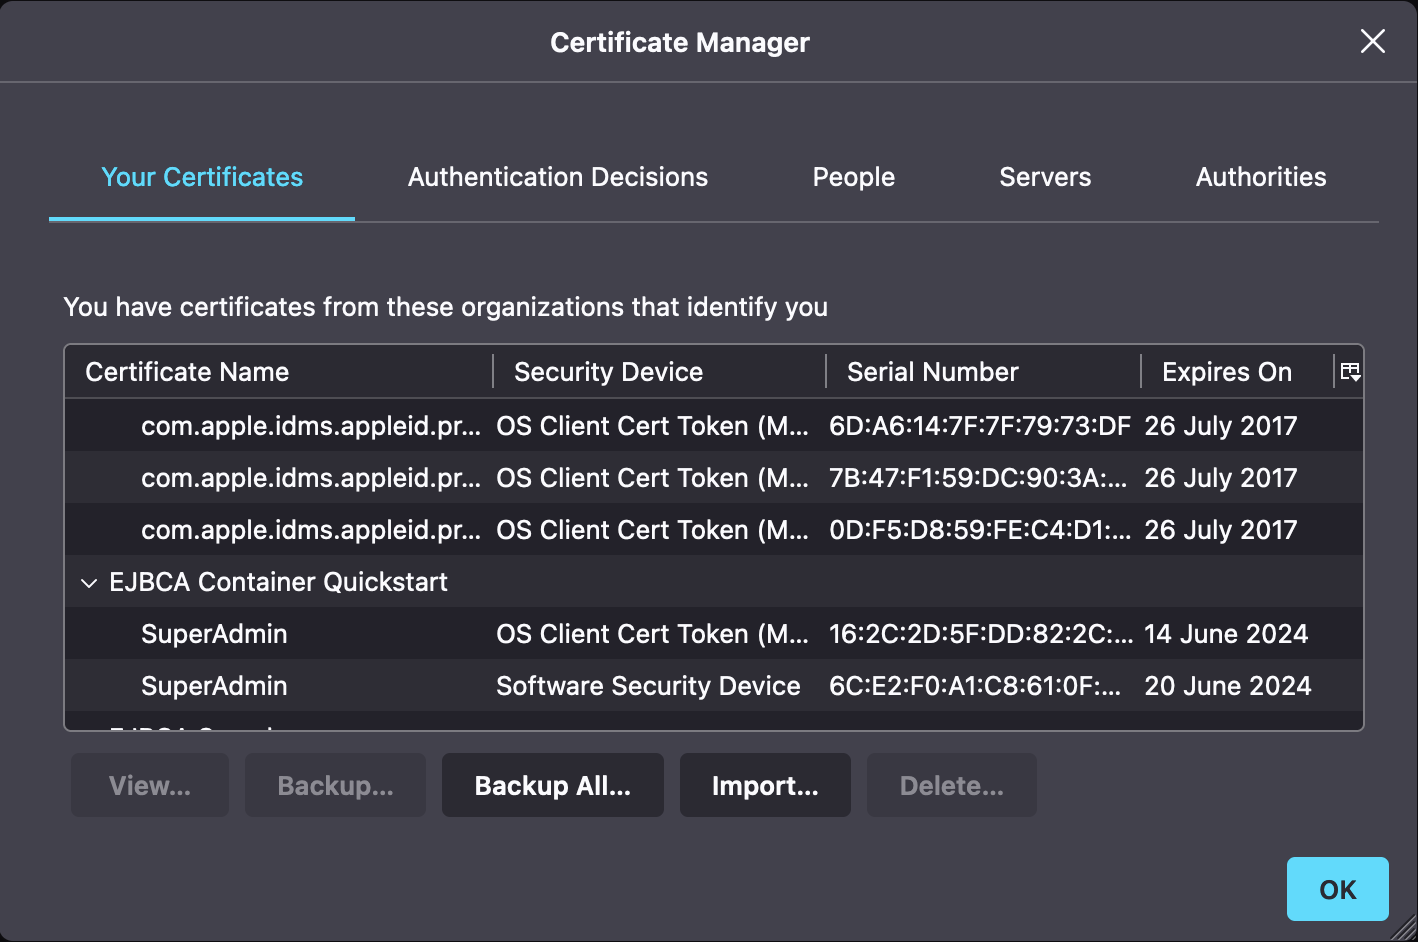
On the Mozilla Firefox tab Your Certificates, verify that the certificate was imported.
Next, point your browser to https://localhost/ejbca/adminweb/. You'll now be asked to present the credential you generated above, and you'll now have access to EJBCA:
