Part 4: Configure Policy Server
The following sections cover configuring group policies on the Active Directory (AD) server and EJBCA certificate chain deployment.
Step 1 - Certificate Chain Deployment
The following covers how to install the Cert Chain from EJBCA onto Client Certificate Stores by downloading the CA certificates in EJBCA and then setting group policies to automatically place the CA certificates into their respective certificate stores.
Download CA Certificates
To download the CA Certificates using the EJBCA RA Web, do the following:
On the AD Domain Services Server, go to the EJBCA RA Web CA Certificates and CRLs page on http://<ejbcaserver.yourcompany.com>:8080/ejbca/ra/cas.xhtml.
Click Internet Explorer to download the Root CA certificate, Intermediate CA certificate and Issuing CA certificate.
Import Certificates
Next, set the group policies to automatically place the CA certificates into their respective certificate stores. Note that a Group Policy Object (GPO) is a set of Group Policy configurations.
Open the Group Policy Management (gpmc.msc) on the AD Server.
Expand your domain forest, and select <yourcompany.com> from your Domains.
Right-click and select Create a GPO in this domain, and Link it here.
Set the GPO name to Trusted EJBCA CA certs.
Right-click Trusted EJBCA CA certs GPO and click Edit.
Navigate to Computer Configuration > Policies > Windows Settings > Security Settings > Public Key Policies > Trusted Root Certification Authorities.
Click the Action menu or right-click and then click Import.
Follow the instructions in the Certificate Import Wizard to import the Root CA certificate.
Navigate to Computer Configuration > Policies > Windows Settings > Security Settings > Public Key Policies > Intermediate Certification Authorities.
Click the Action menu or right-click and then click Import.
Follow the instructions in the Certificate Import Wizard to import the Intermediate CA certificate.
Navigate to Computer Configuration > Policies > Windows Settings > Security Settings > Public Key Policies > Intermediate Certification Authorities.
Click the Action menu or right-click and then click Import.
Follow the instructions in the Certificate Import Wizard to import the Issuing CA certificate.
Step 2 - Configure Group Policies on AD server
Configure Group Policies on the AD server according to the following:
Access the Group Policy Management (gpmc.msc) on the AD Domain Services server.
Expand your domain forest, click Domains > your domain name, and then select Default Domain Policy.
Right-click Default Domain Policy and select Edit.
Expand Computer Configuration and select Policies > Windows Settings > Security Settings > Public Key Policies.
Edit Certificate Services Client – Auto-Enrollment according to the following and then click OK.
Change Configuration Model to Enabled.
Select Update certificates that use certificate templates.
Expand User Configuration > Policies > Windows Settings > Security Settings > Public Key Policies.
Edit Certificate Services Client – Auto-Enrollment according to the following and then click OK.
Change Configuration Model to Enabled.
Select Update certificates that use certificate templates.
Optionally: If you require to Publish the User certificates in Active Directory and maintain the same User certificate across all domain-joined workstations, perform the following steps. If not, a user that logs on to multiple workstations will be issued a certificate for each workstation profile by design.
Expand User Configuration > Policies > Windows Settings > Security Settings > Public Key Policies.
Edit Certificate Services Client – Credential Roaming:
Click the General tab, change to Enabled, and click OK.
In the message about Roaming Uses Profile exclusion list displayed, acknowledge and click OK.
Step 3 - Update Group Policy for Certificate Enrollment
T o update the Group Policy for Certificate Enrollment, do the following:
Access the Group Policy Management (gpmc.msc) on the AD Domain Services server.
Expand your domain forest, click Domains > your domain name, and then select Default Domain Policy.
Right-click Default Domain Policy and select Edit.
Expand Computer Configuration > Policies > Windows Settings > Security Settings > Public Key Policies.
Edit Certificate Services Client – Certificate Enrollment Policy.
Change Configuration Model to Enabled.
Remove the Active Directory Enrollment Policy from the Certificate Enrollment policy list, and then click Add.
Enter the policy server URI: https://<ejbcaserver.yourcompany.com:8442>/ejbca/msae/CEPService?msae, click Validate Server, and then click Add.
Multiple policy servers can be added here (EJBCA or others). An EJBCA CEP Service URI will be listed with Policy Name as configured in Part 3b: EJBCA Policy Server Configuration.
Using the URI format above, changing ?msae will point to a different alias in EJBCA . This may be desired if the EJBCA Auto-enrollment configuration contains multiple aliases, representing different domains.
Select Default, and then click Add.
Expand User Configuration > Policies > Windows Settings > Security Settings > Public Key Policies.
Edit Certificate Services Client – Certificate Enrollment Policy.
Change Configuration Model to Enabled.
Remove the Active Directory Enrollment Policy from the Certificate Enrollment policy list, and then click Add.
Enter the policy server URI https://<ejbcaserver.yourcompany.com:8442>/ejbca/msae/CEPService?msae, click Validate Server and then click Add.
Select Default, and then click OK.
Step 4 - Test Microsoft Auto-enrollment
To test the Microsoft Auto-enrollment:
Add the Windows Client host member of the domain (yourcompany.com).
For any user who has logged in prior, you may need to delete the cached policy information in the local user account directory.
The location of the cached user policy is: %userprofile%\AppData\Local\Microsoft\Windows\X509Enrollment
The location of the cached machine policy is: %programdata%\Microsoft\Windows\X509Enrollment
Log in as user member of the Domain Admins group.
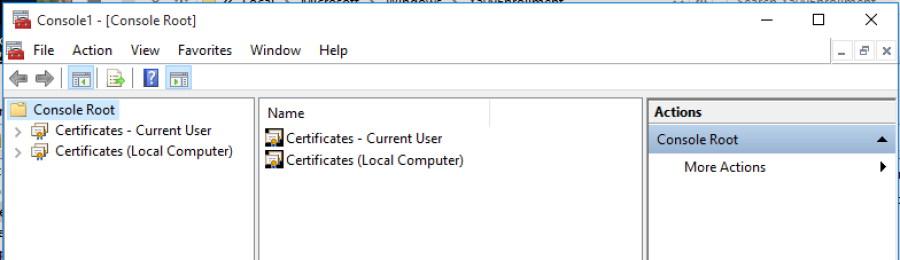
Open the Microsoft Management Console (mmc.exe).
Click File>Add/Remove Snap-in and select certificates for both user and local computer .
Verify that the user certificate was generated (Current User/ Personal/ Certificates).
Ensure that the user certificate in the personal store is generated by your issuing CA using the duplicated template.Verify that the computer certificate was generated. (Local Computer/ Personal/ Certificates requires Admin privileges to check the local computer certificate store).
Ensure that the computer certificate in the personal store is generated by your issuing CA using the duplicated template.