Create a Certificate Profile for a Document Signer for Passports
The following describes how to create Certificate Profiles for passport signers, issued by a CSCA.
For more conceptual information about Certificate Profiles, see Certificate Profiles Overview and for information on available Certificate Profiles Fields, see Certificate Profile Fields.
The following configuration conforms to ICAO Doc 9303 Part 12, 7th Edition, but as standards evolve over time and requirements differ, it is always up to the operator of the ePassport system to ensure that the configuration is relevant and stays up to date.
Create Certificate Profile for Document Signers
To create a certificate profile suitable for passport document signers, do the following:
Click Certificate Profiles under CA Functions to open the Manage Certificate Profiles page.
Specify a name for the certificate profile, for example Passport Document Signer, and click Add.

Find your new Passport Document Signer in the List of Certificate Profiles, and click Edit.
Edit the settings according to the following:
For Type, select End Entity.

Select whatever algorithm and parameters you want to accept, this example uses RSA and key sizes of 2048 and 4096 as acceptable.

In the Validity field, enter the desired validity of the certificate.

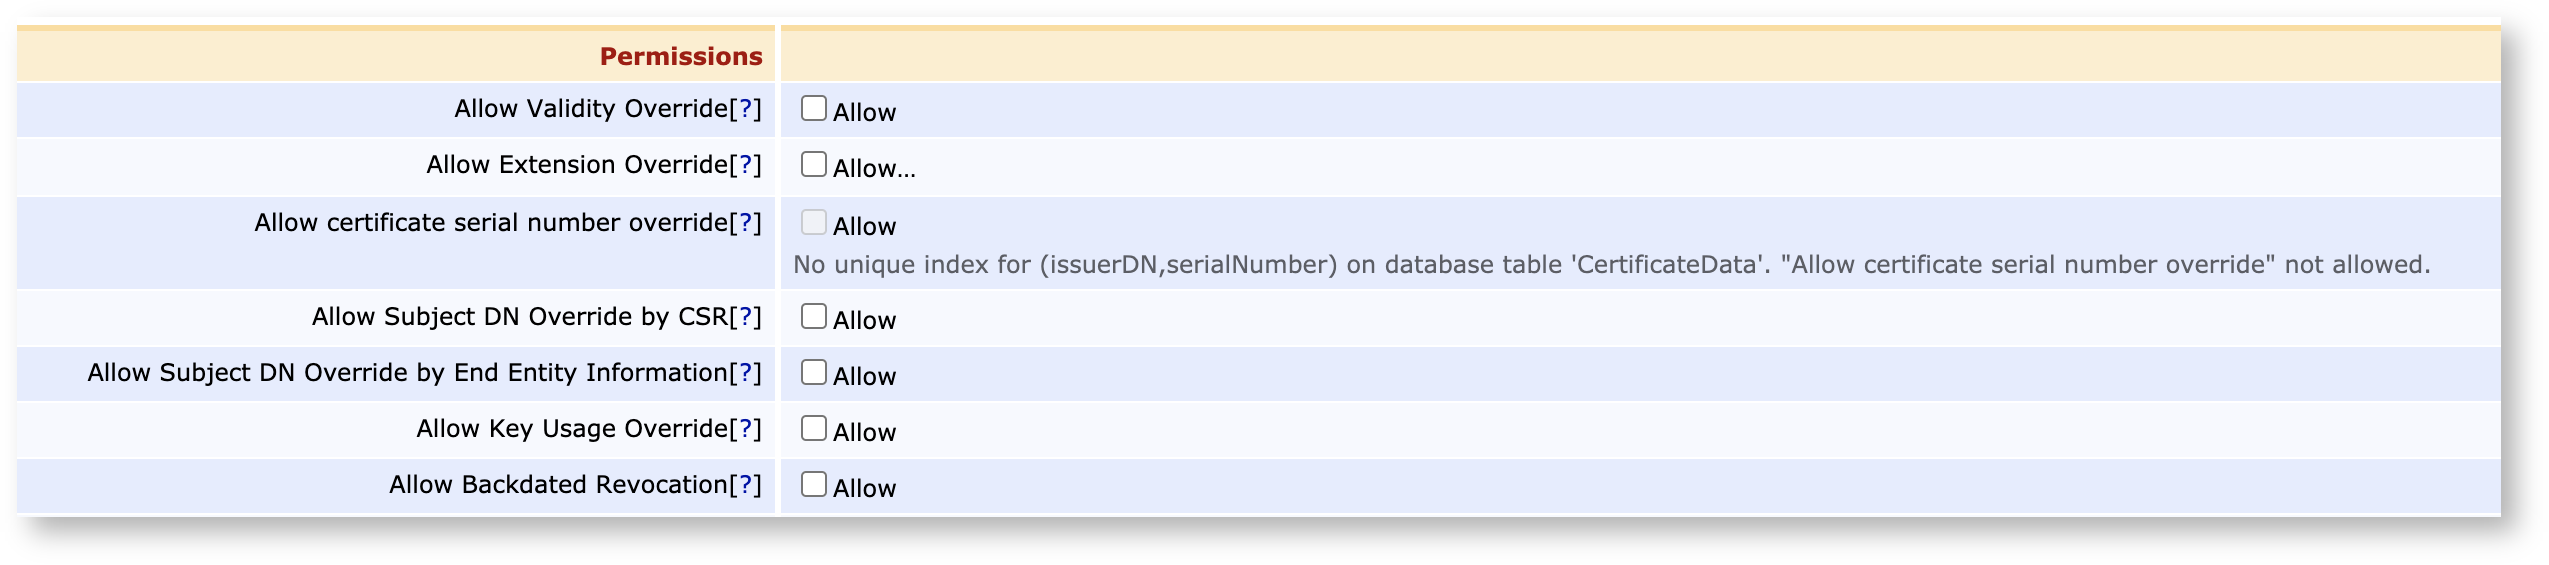
Scroll down to Permissions, and ensure that the Allow Key Usage Override option is not chosen, as this would allow a CSR to override the key usages specified in the profile.
Scroll down to X.509v3 Extensions and select Authority Key ID and Subject Key ID. As Key Usage, ensure that only Digital Signature is selected.
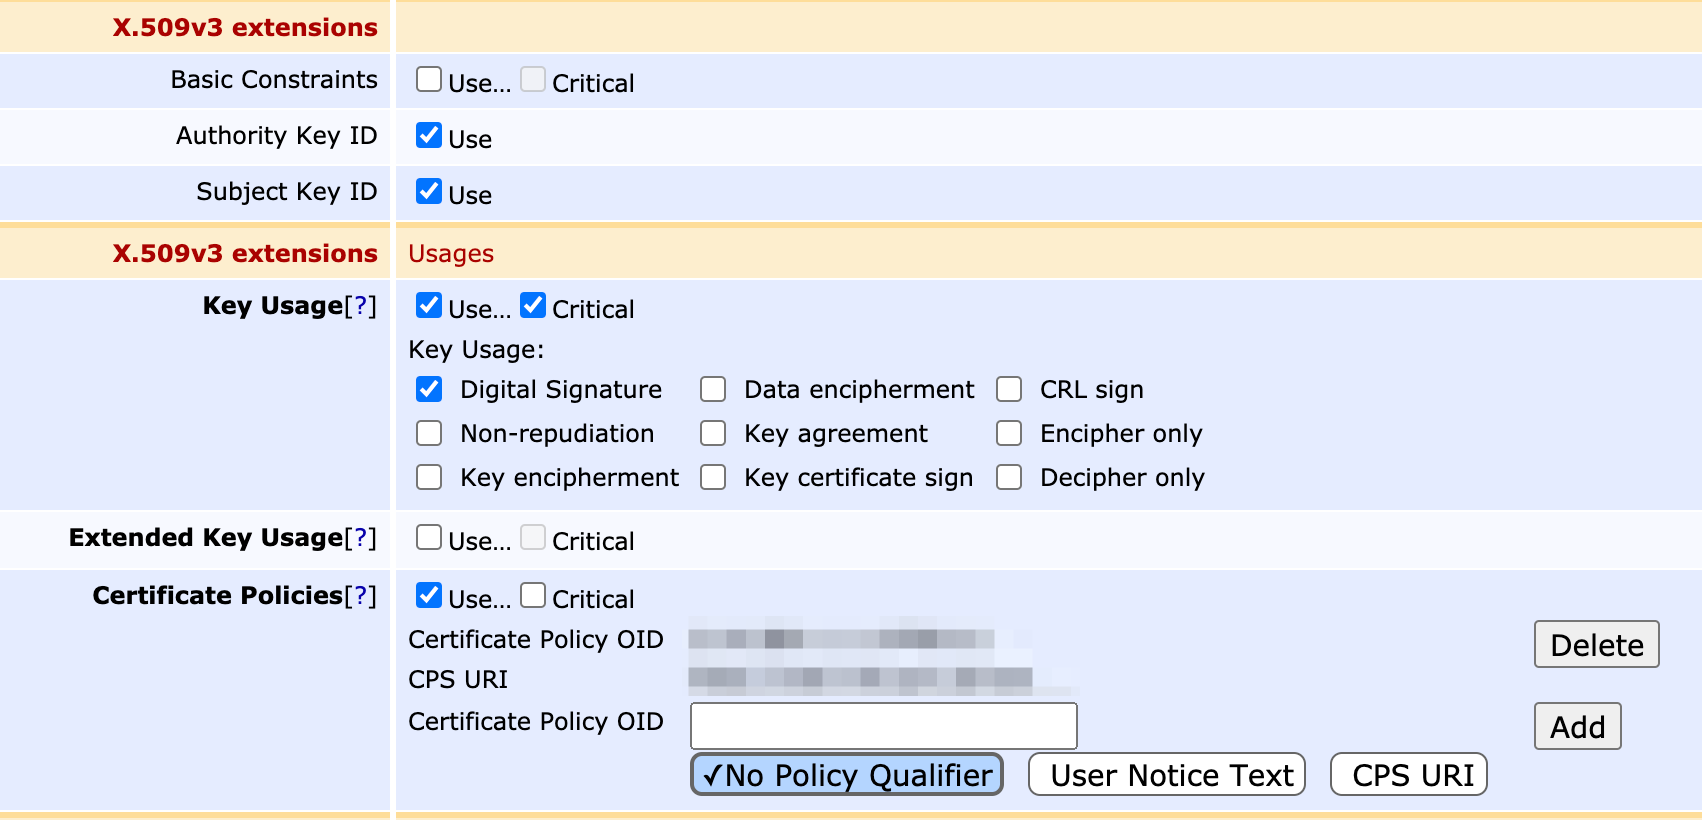
Under Certificate Policies, add the OID of any Certificate Policy you may be required to use.
Under Validation Data, specify the following:
Configure the CRL Distribution Points. Note that at least one CDP must point to ICAO.
Select Authority Information Access
Configure the CA Issuer URI if required
Private Key Usage Period: Set the Period length.

Under ePassport, set the ICAO Document Type List, set the CVC terminal type to Inspection System, and set the CVC access rights.

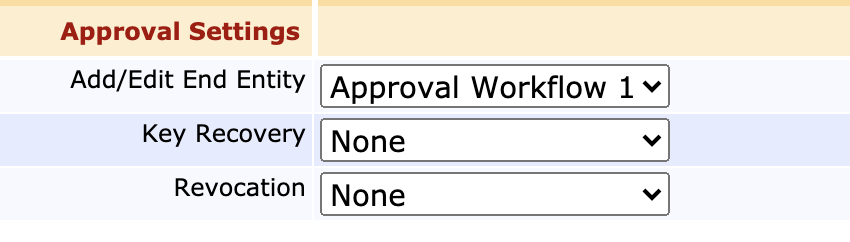
If your workflow requires several administrators to approve of certificate requests, scroll down to Approval Settings and pick your approvals scheme
Scroll down to Other Data and in the Available CAs list, select CSCA.

If you're intending to publish your certificates (e.g. publishing revocations to a Verification Authority), select your publishers on the Publishers row.
Click Save to store the settings and view the new certificate profile in the list.